Friday, 14 November 2008
Thinking holidays
I'm not usually someone who plans ahead and is all organized for the holidays (in fact, I have been guilty of doing lots of shopping on Dec 24th on more occasions than I would like to admit). However, I now live in Germany while my friends & fam remain in Canada. Shipping packages (using the affordable cheap rate) takes 6 weeks, which essentially means, I'm already very late on the gift front. All of that is a long-winded way to explain why I have actually been thinking about the holidays in November.
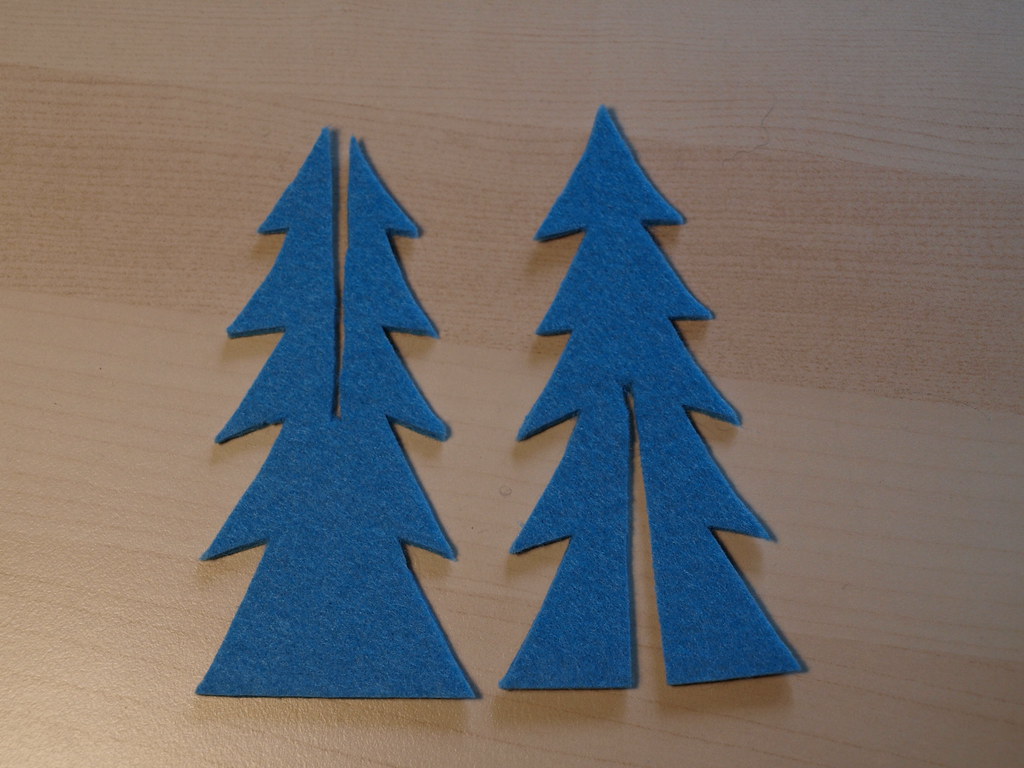
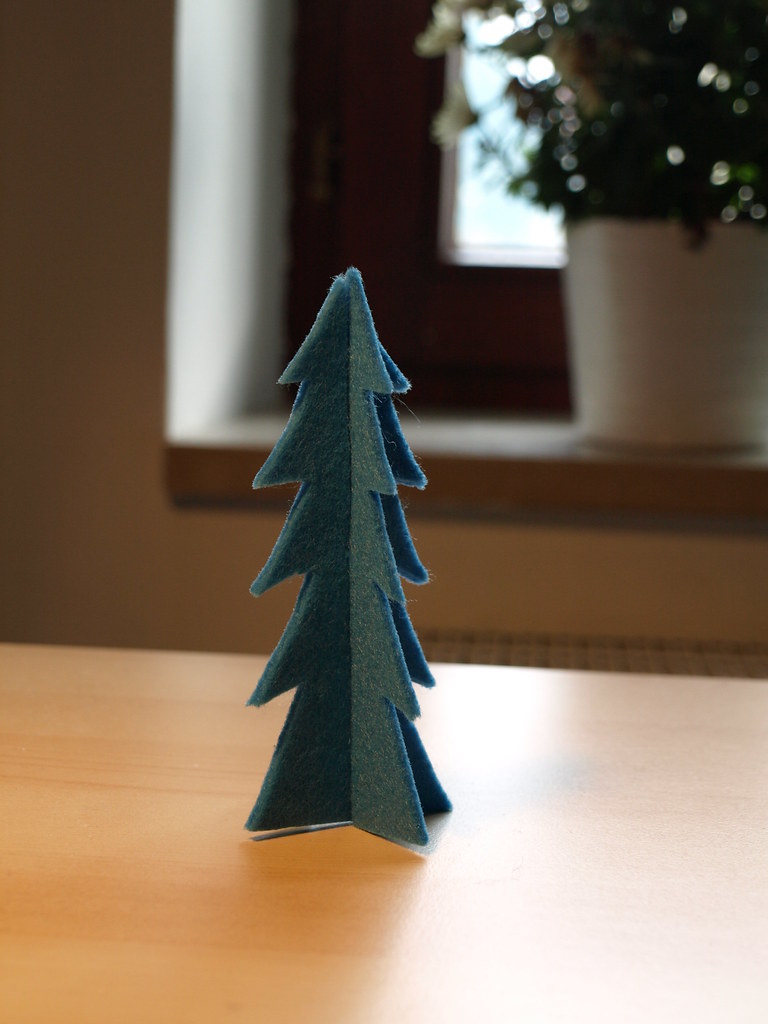
This isn't even a gift - this was a 5 minute project to use up some felt scraps. But I like it. Simple but with potential. May require a glue gun to keep it all together (but that would mean I would have to go and buy a glue gun - I know, what kind of crafter doesn't own a glue gun?).
To make the 3D tree, all you have to do is cut out two 2D trees and slit one from the top & one from the bottom:
Now I must get going on those gifts....
Thursday, 13 November 2008
The matching pouch
With my leftover fabric from the Weekender Bag, I made a matching Straight Sided Triangular Cosmetic Bag using this tutorial.
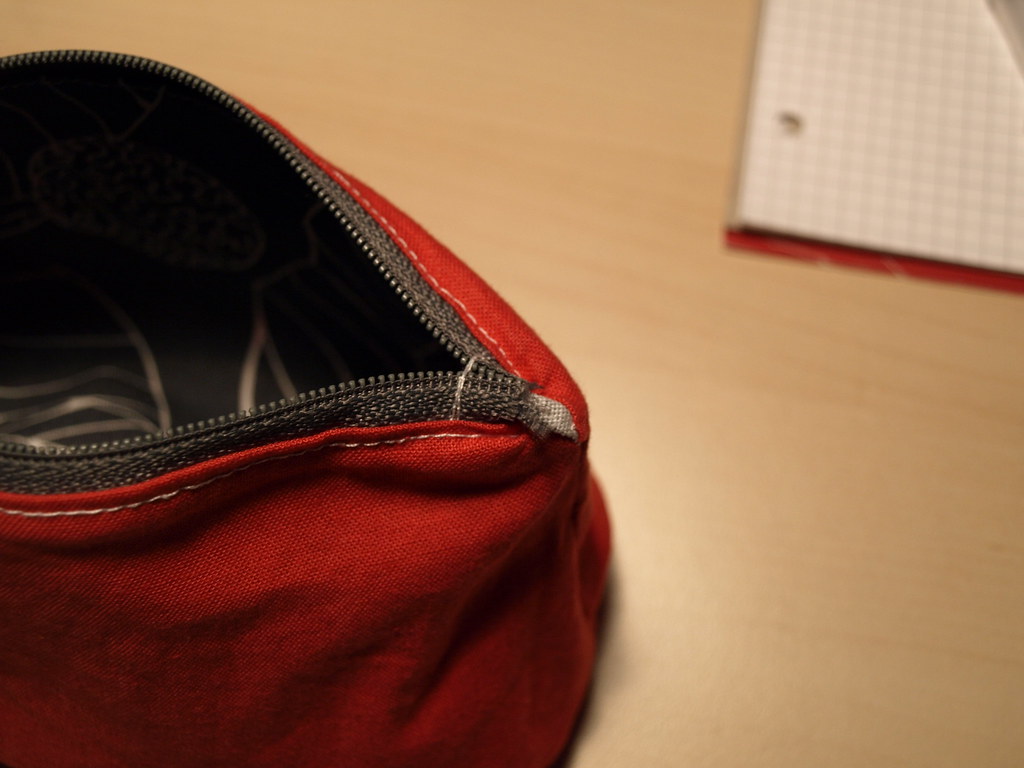
The tutorial was great (I really appreciate the people who take the time to tutorialize their creations!) but I would suggest a small modification for future versions. I found that the raw edges of the zipper were exposed on the inside due the addition of the exterior fabric squares (which does look great from the outside). See what I mean here:
Yes, I admit a bit picky, but I felt the need to cover these raw ends of the zipper. In this case I hand stitched a little patch over the ends.
For future pouches, it would be simple to add a square of the lining material to ends of the zipper at the same time as squares of exterior fabric.
I also referred to twelve22's zip pouch tutorial for additional zipper installation confidence boosting (her tip that you fold the zipper toward the lining when sewing the side seams was very helpful - but probably makes no sense unless you are actually making a pouch!).
Oh, and I also added little loops in the side seam - I like having something to hang onto while zipping!
Thursday, 23 October 2008
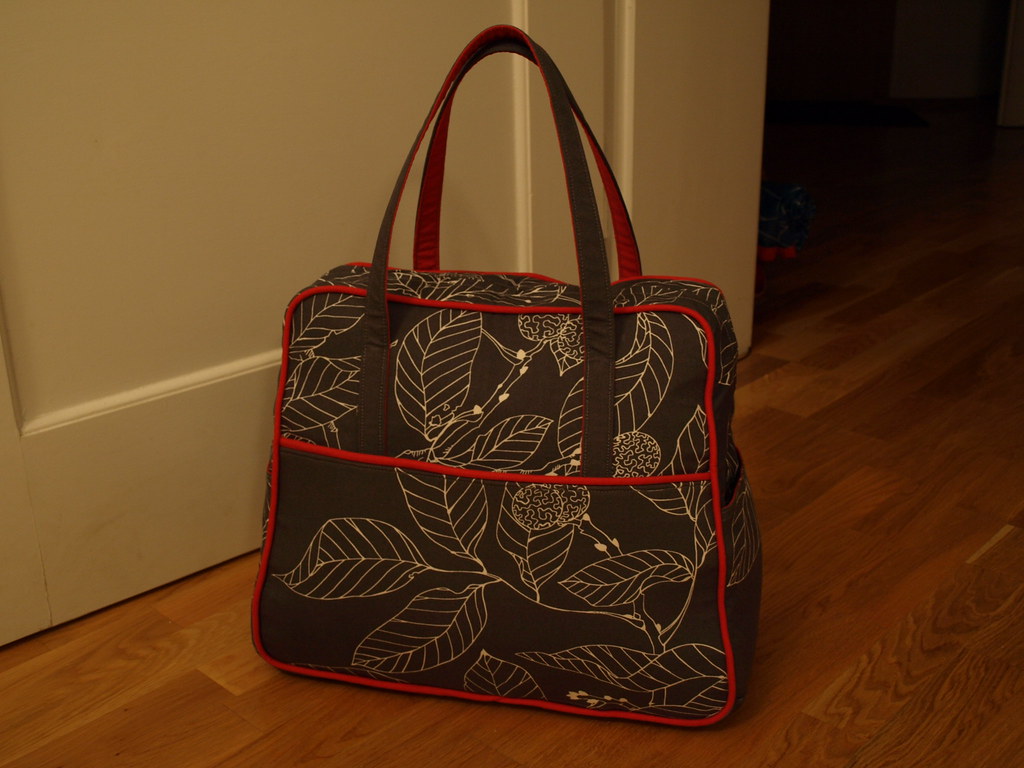
The first big project - - The Weekender Bag
I have admired the Weekender Travel Bag for ages, owned the pattern for more than a year, and finally got my hands on some fabric I considered worthy (and I'm not the only one who loved this fabric). I was first inspired by this beautiful version. And finally, it is finished!
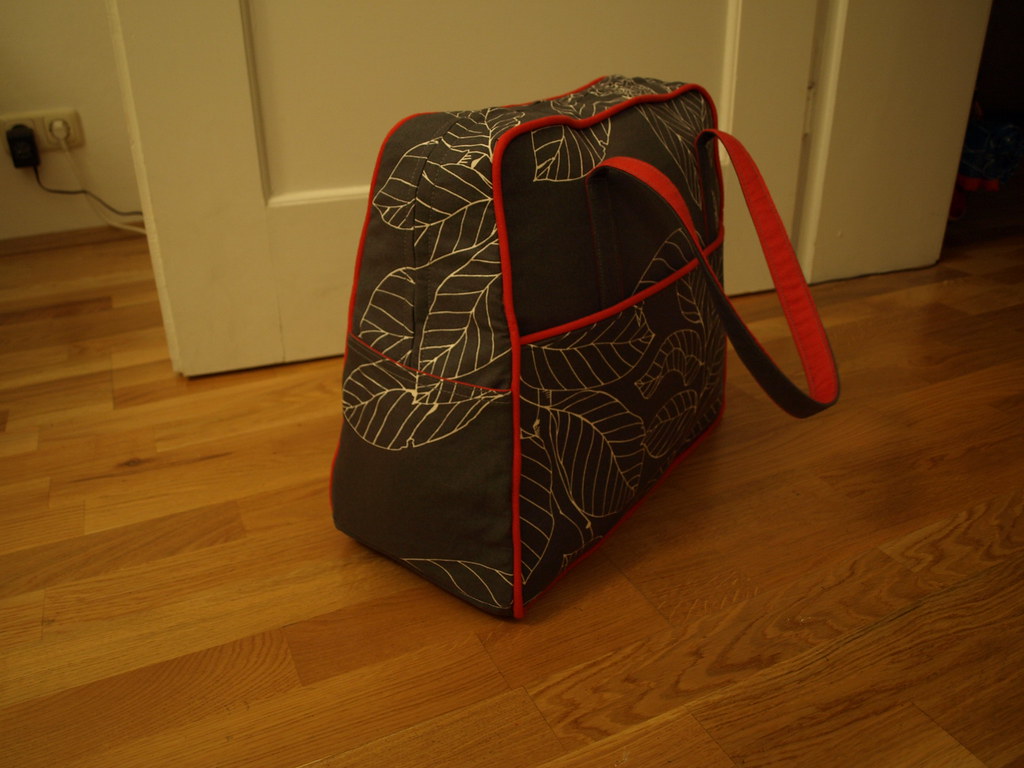
After doing some thorough research of those who had gone before, here are my notes & modifications:
- I took all buttoned up's advice and used fusible tape to seal the cording.
- You can get away with 4.5 m of cording (if like me, you don't do a very good job of mental unit conversion from imperial to metric while the lady in the fabric store is waiting to cut the cord for you).
- I lengthened the handles slightly - I tested different lengths until I found the minimal length needed to fit the bag comfortably over my shoulder. In the end I only extended the handles to 49.5" (from 48"), but, hey, it was an important 1.5".
- I used lining & exterior fabric for the handles (cut 1 strip of each 2" wide, sewed together with a 1/2" seam allowance, and presto, now you have the equivalent of the single 3" wide piece specified in the pattern.
- Hand basting (as recommended and seconded) was needed for the final assembly stage.
- I used my foot treadle sewing machine for all the sewing involving many layers. I could go nice and slow and that machine can go through anything without breaking a sweat.
- I used Flexi Firm Fusible based on craftapple's review of Timtex substitutes (I didn't fuse it to the fabric, I just treated it like sew-in interfacing).
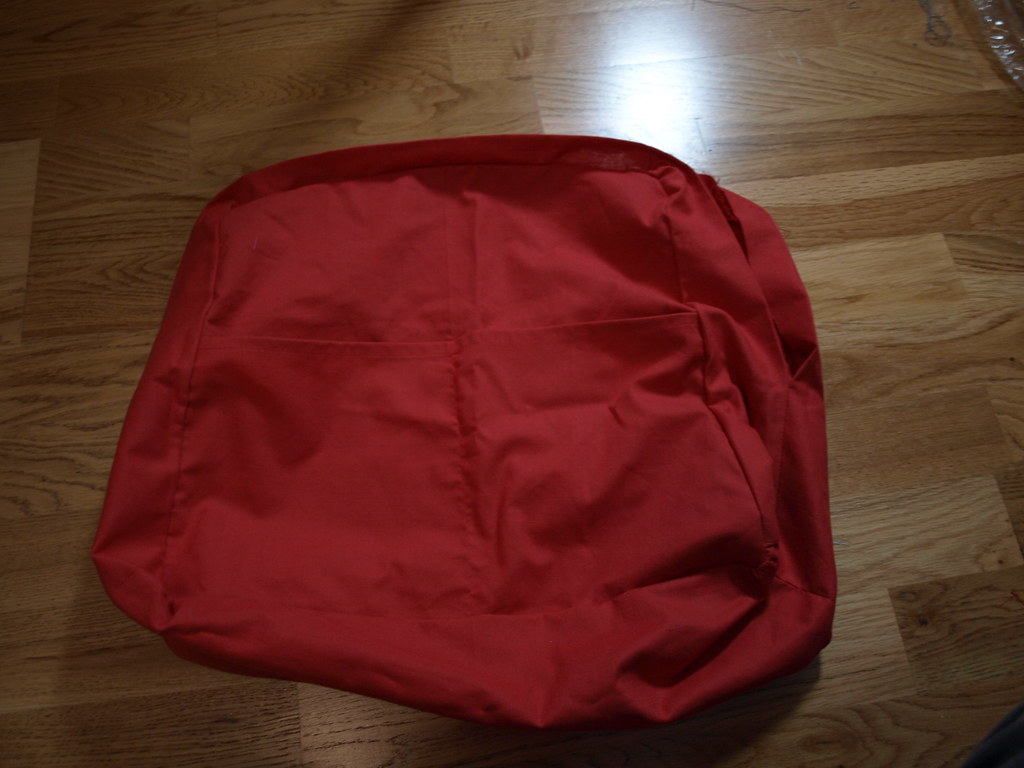
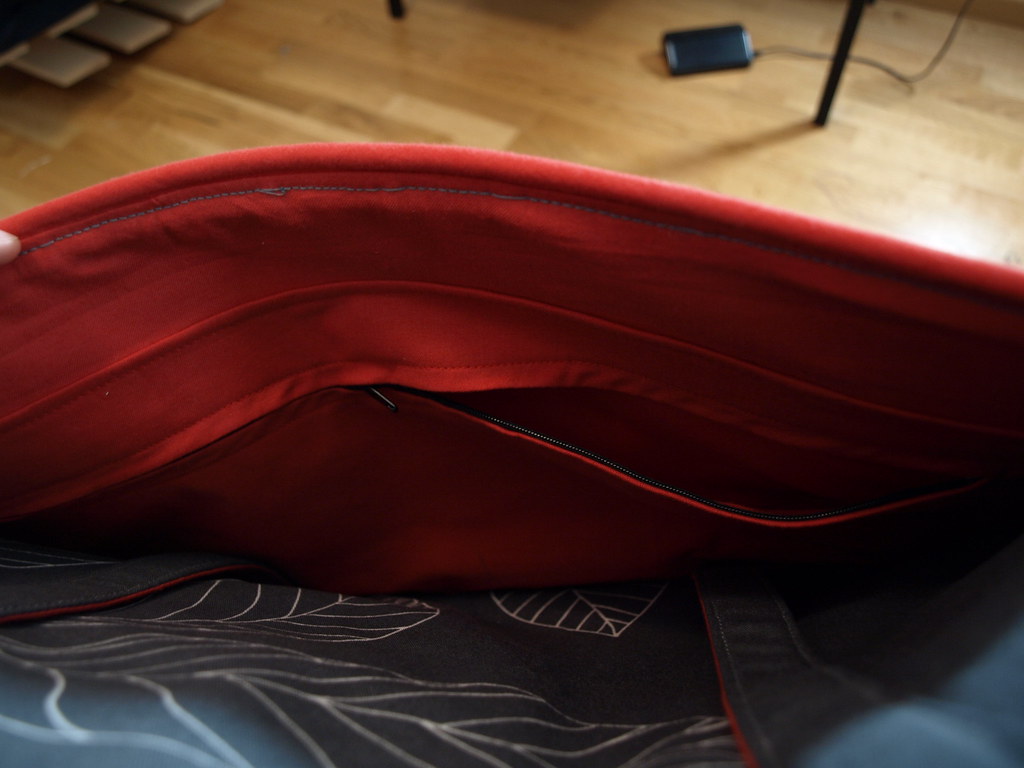
- Some pockets were added inside (a full-length pocket on one side with a snap, and 2 pockets on the other side) as well as a zipped pocket in the lining of the outer pocket (the idea here was that this would be secure but easily accessible for boarding passes, passports, and the like).
Double pockets in the lining before being attached:
Zipped pocket in lining of outer pocket:
Now, all I need is a trip!
Monday, 20 October 2008
Farewell to Montreal
In Old Montreal.
Congress Centre.
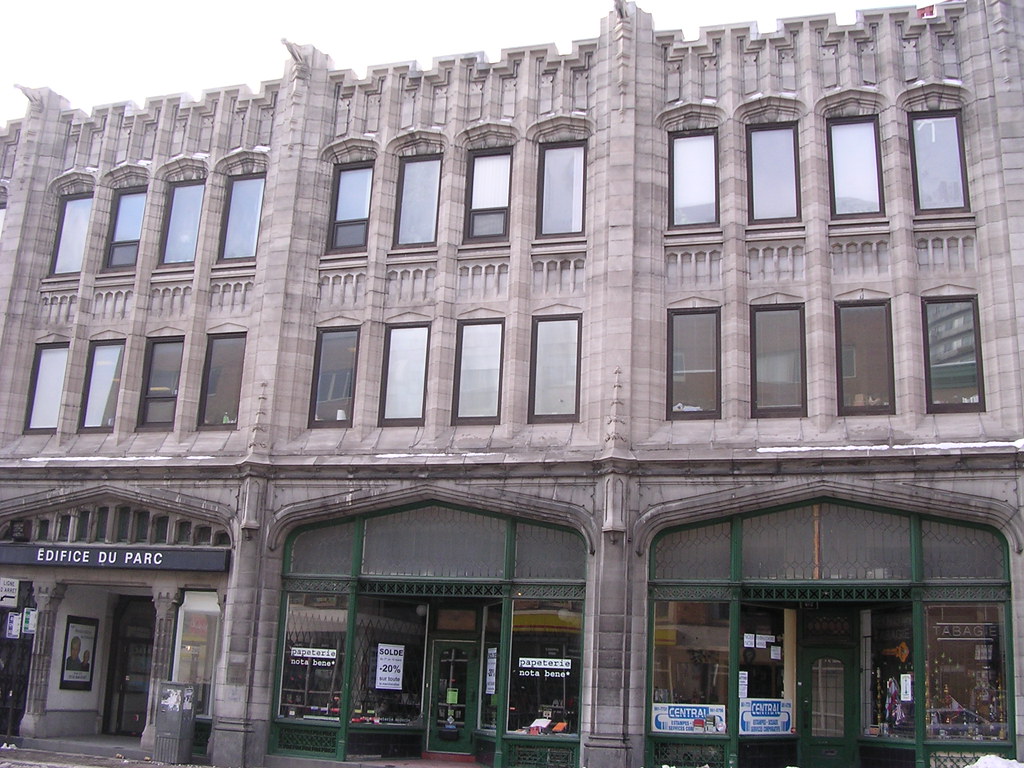
On Parc Ave, just north of Sherbrooke. Home to my favourite stationary store: Nota Bene
The view from the Mountain.
On the mountain in summer....
...and winter.
The Marlborough. Home... once upon a time.
Congress Centre.
On Parc Ave, just north of Sherbrooke. Home to my favourite stationary store: Nota Bene
The view from the Mountain.
On the mountain in summer....
...and winter.
The Marlborough. Home... once upon a time.
Saturday, 5 July 2008
quick bags
Since I don't own enough bags (ha!) I recently went on a little bag making kick.
These were inspired by this bag made from a pillow case. My versions were made from smaller pieces of fabric so the tied handles were replaced with a button (not even a button hole - just sewn together due to sewing laziness!).
Not the most secure bag, but I like the size and it tucks under my arm well. Good for adding a little colour!
Sunday, 15 June 2008
experimental jewelry?
I was playing around with some wire and ended up with a wire spiral ring. It seemed a bit boring so I added some thread, woven through the wire. The end result is this:
I don't actually wear it, but I like the idea. (I find that happens a lot - the brilliant idea in my head doesn't pan out quite as I had envisioned - but that's half the fun. It's about the process not the end product, right? Ok, sometimes it's about the end product - just not this time!)
Tuesday, 27 May 2008
spring card
This card was made as a Happy Easter/Happy Spring card using my handy dollar store flower punch and scrap paper.
Since the dollar store punch is not terribly sturdy, I ended up using the paper wrappers from my favourite tea for the flower heads since they are made of very lightweight paper. The stems and leaves were cut freehand. All finished off with a quick run through the sewing machine to fasten the flowers down!
Sunday, 25 May 2008
spring start
hello!
I have to admit that I didn’t really understand the blogging phenomenon until, one day, I stumbled upon craftlog while looking for something else. I loved the creations I saw there, and links to other blogs opened up a whole new world of crafters and artists.
For the last few months I have been enjoying witnessing the amazing crafting documented in the blogging world. I have been inspired by your creativity and impressed by the community that you have created.
Since spring feels like a good time to start something new, here goes my new craft blog.
For now, here is a bit of spring occuring outside my living room. Craft to come soon.
Subscribe to:
Posts (Atom)