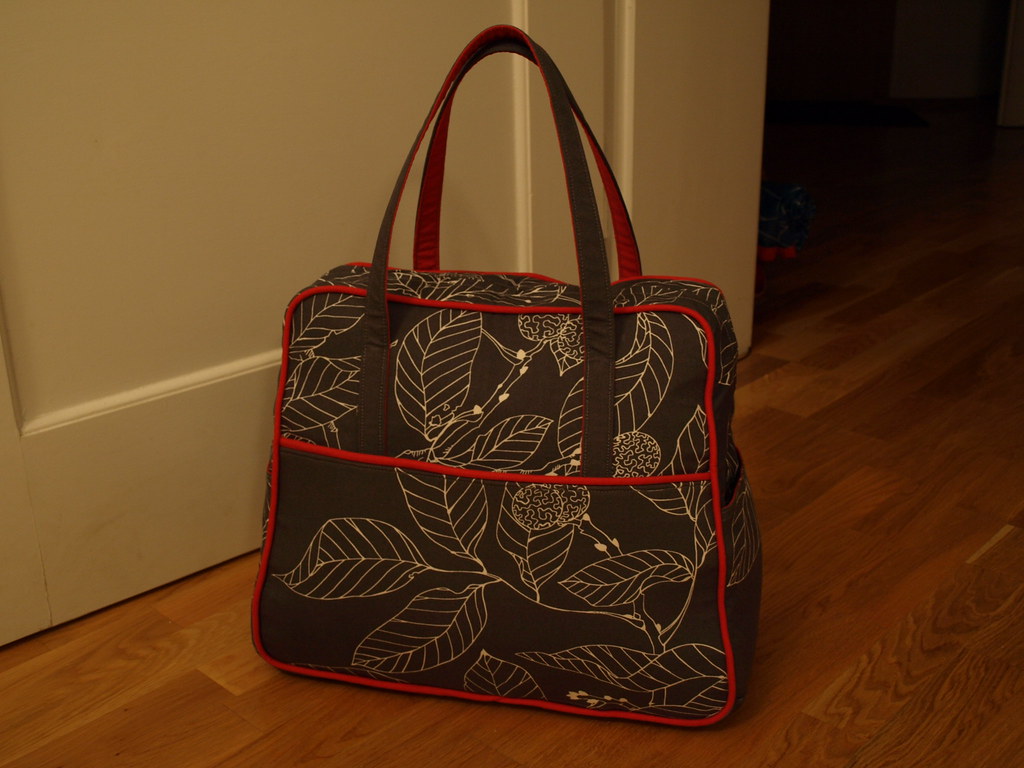
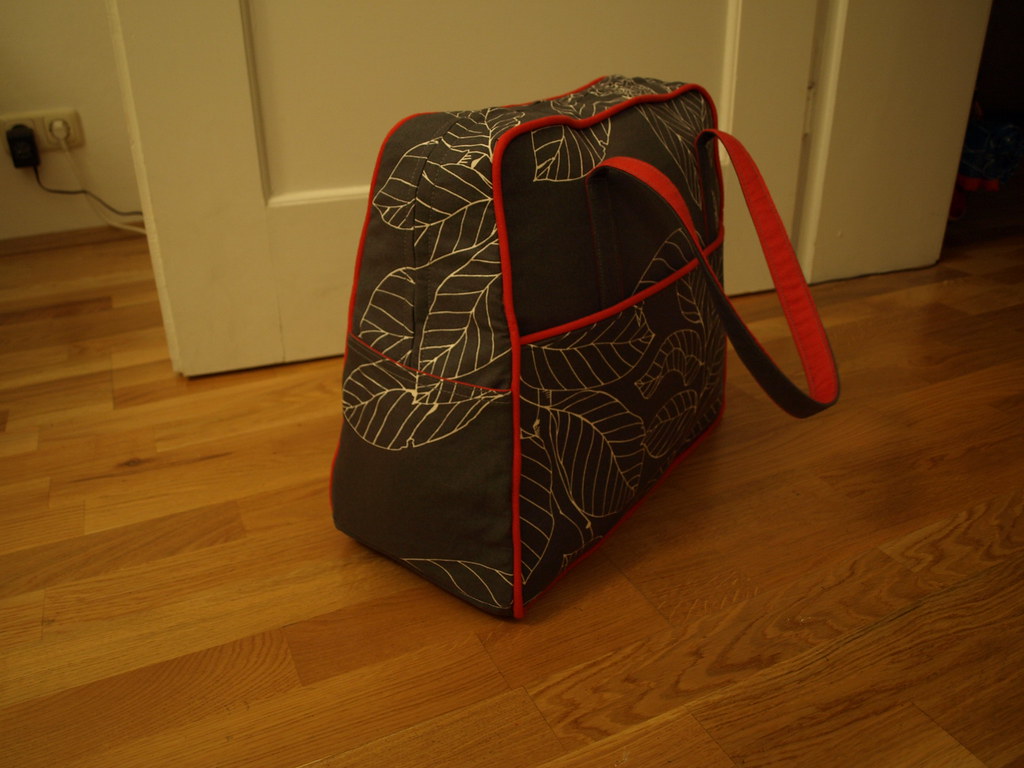
I have admired the
Weekender Travel Bag for ages, owned the pattern for more than a year, and finally got my hands on some fabric I considered worthy (and I'm not the only one who
loved this fabric). I was first inspired by
this beautiful version. And finally, it is finished!
After doing some thorough research
of those who had gone before, here are my notes & modifications:
- I took all buttoned up's
advice and used fusible tape to seal the cording.
- You can get away with 4.5 m of cording (if like me, you don't do a very good job of mental unit conversion from imperial to metric while the lady in the fabric store is waiting to cut the cord for you).
- I lengthened the handles slightly - I tested different lengths until I found the minimal length needed to fit the bag comfortably over my shoulder. In the end I only extended the handles to 49.5" (from 48"), but, hey, it was an important 1.5".
- I used lining & exterior fabric for the handles (cut 1 strip of each 2" wide, sewed together with a 1/2" seam allowance, and presto, now you have the equivalent of the single 3" wide piece specified in the pattern.
- Hand basting (as
recommended and
seconded) was needed for the final assembly stage.
- I used my
foot treadle sewing machine for all the sewing involving many layers. I could go nice and slow and that machine can go through anything without breaking a sweat.
- I used
Flexi Firm Fusible based on
craftapple's review of Timtex substitutes (I didn't fuse it to the fabric, I just treated it like sew-in interfacing).
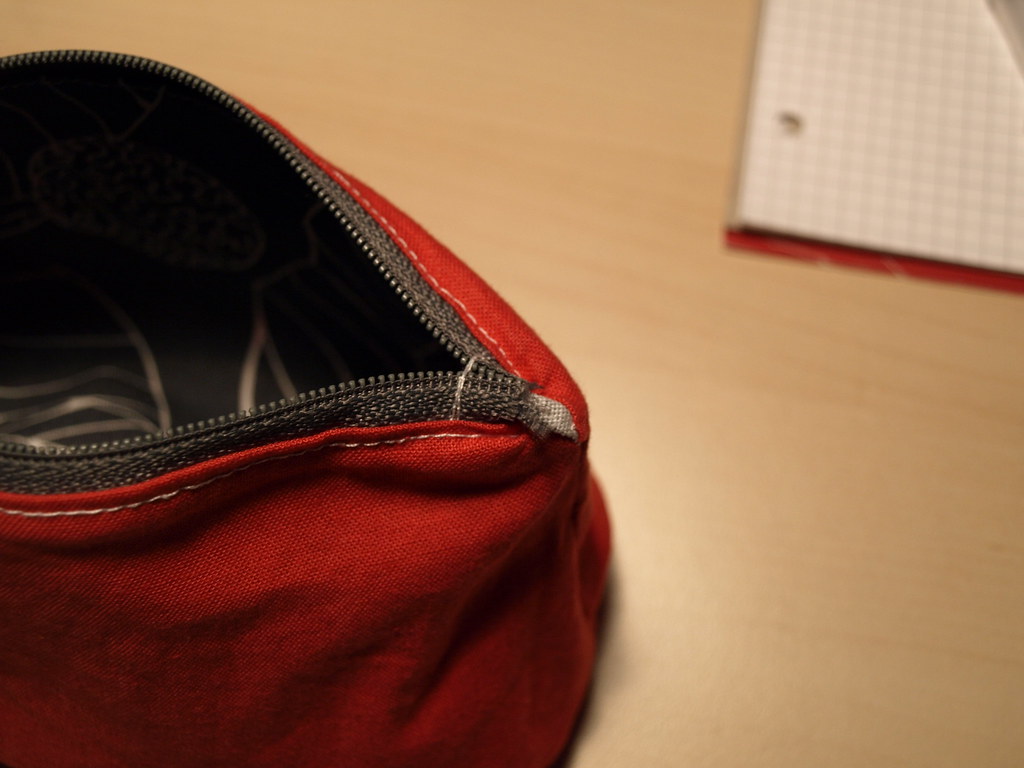
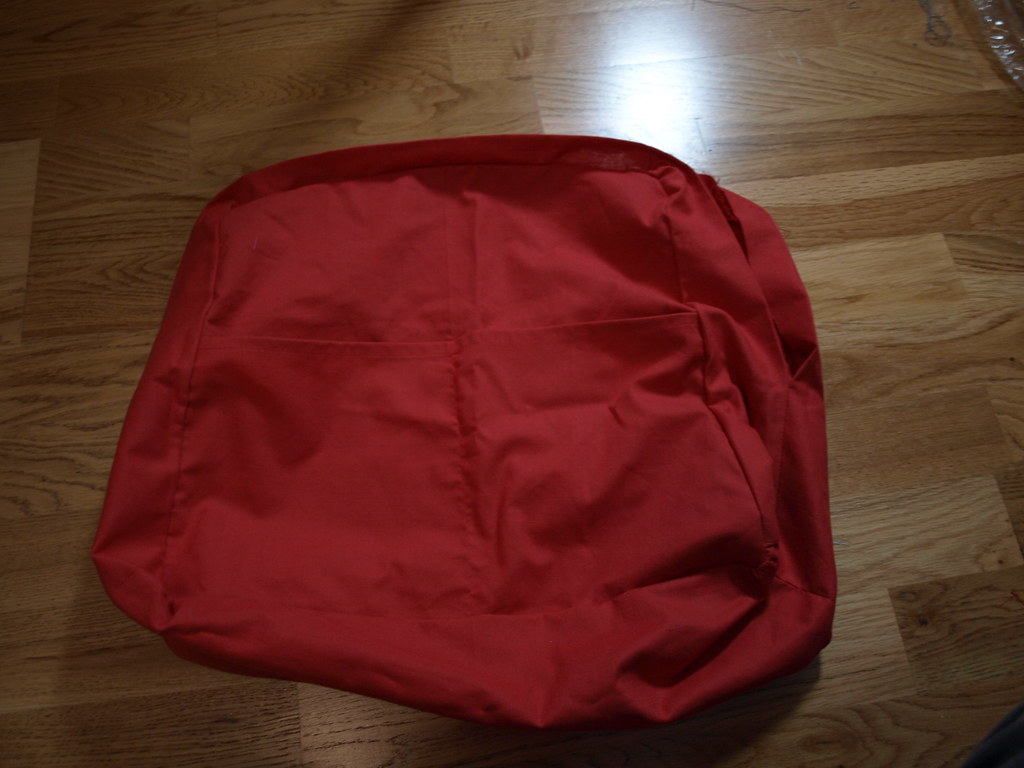
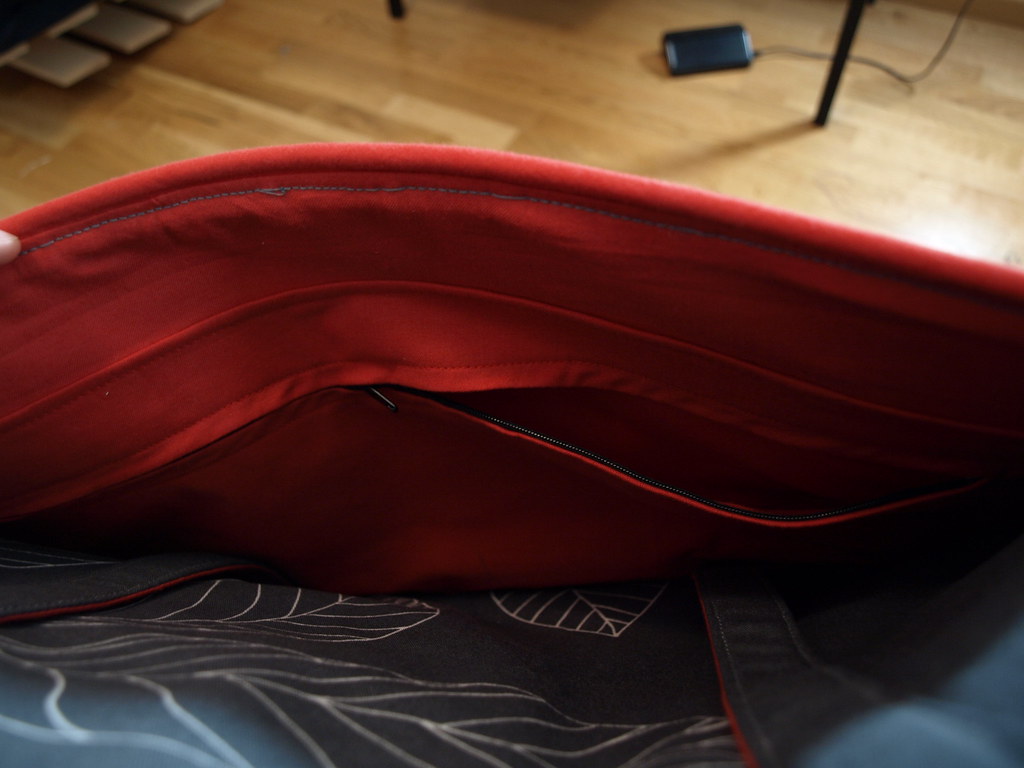
- Some pockets were added inside (a full-length pocket on one side with a snap, and 2 pockets on the other side) as well as a zipped pocket in the lining of the outer pocket (the idea here was that this would be secure but easily accessible for boarding passes, passports, and the like).
Double pockets in the lining before being attached:
Zipped pocket in lining of outer pocket:
Now, all I need is a trip!